As a beginner myself, this was my very first multi-day backpacking, and I must say that it’s definitely WORTH it and totally doable by someone who never goes to gym! For full experience, feel free to check out my vlog here.
Now let’s dive into it —
Difficulty
For most beginners, the concerns might be about cardio, leg strength, and core strength. I’m going to dive into each of these in the following sections.
Lengths and Elevation Gains
On the 4d3n W trek, you are expected to walk about 20km each day, with 2 days having elevation gain of 1km, and the rest of the 2 days almost flat (considered “commute day”).
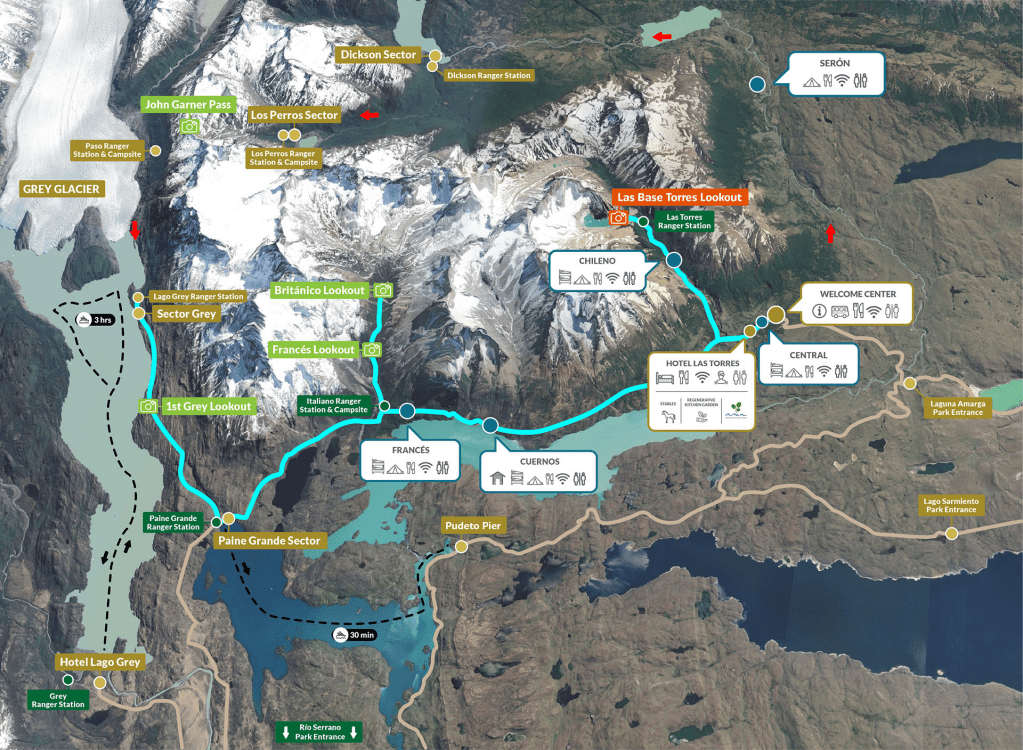
The only more challenging days would be these 2 tips on the W trek, where the elevation gain is about 1km.
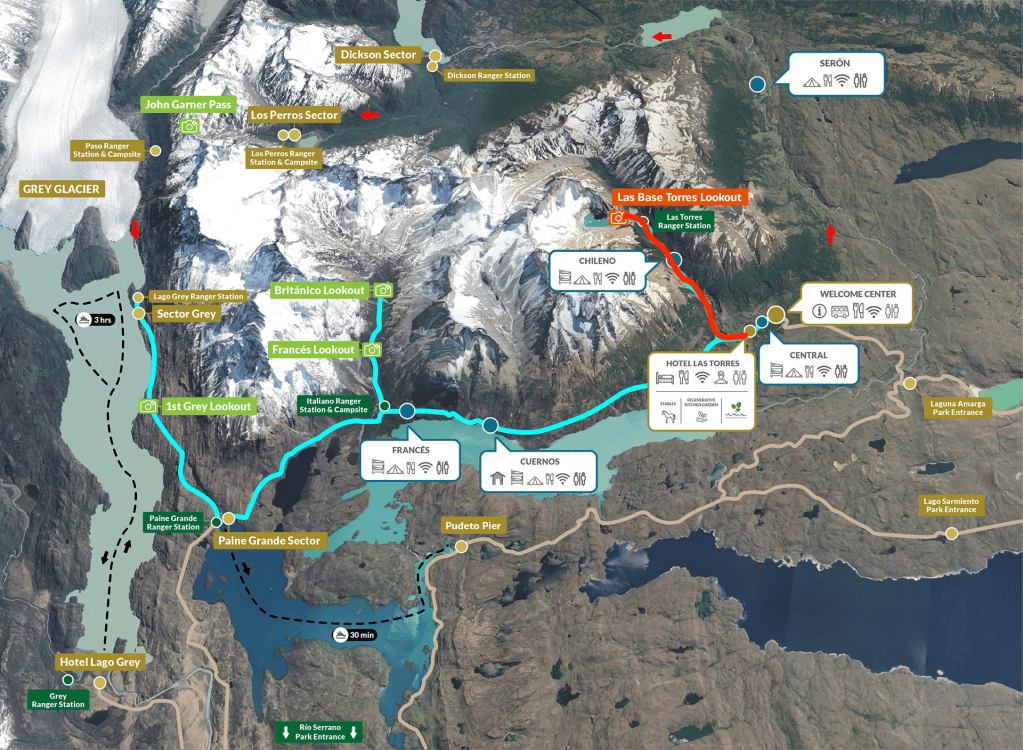
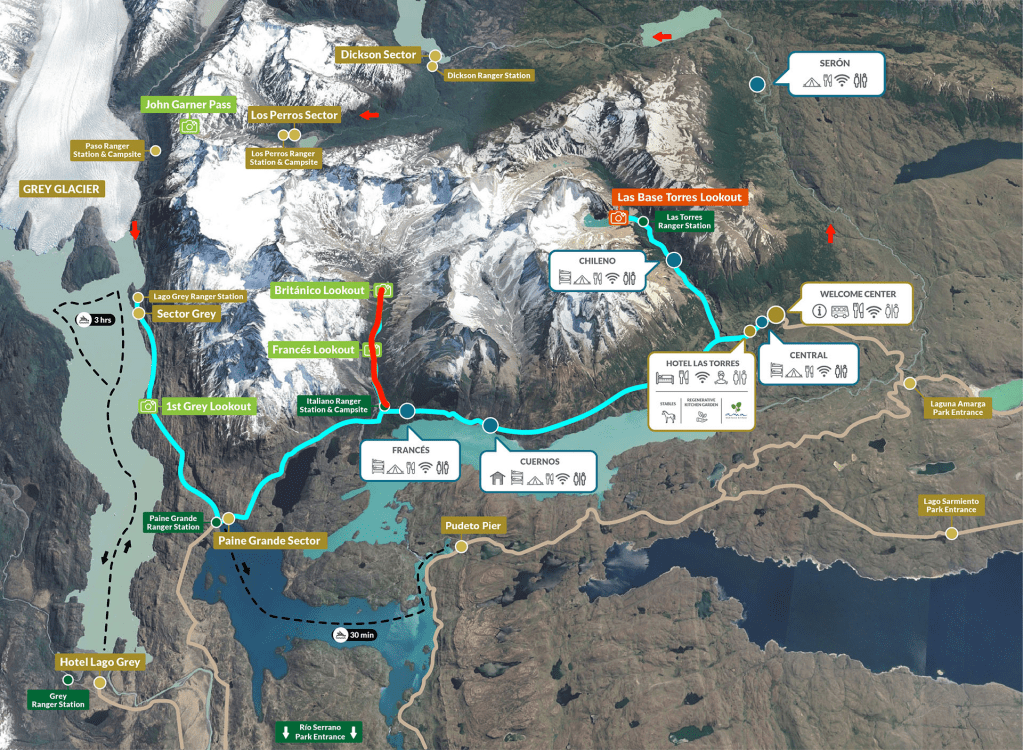
During these two days, for the most part of the trail it’s going to be very mild and flat, but then most of the elevation gain is done during the final hour (steep up) by climbing rocks. You need to have good knees to climb the rocks. For British Valley, you need to use hands for some parts.

Trail Conditions
The trail was not challenging in terms of cardio, because the trail alternates between going up and down and flat, so you’ll barely find yourself shooting up towards the top (except for the ones mentioned in above section). Most part of the trail is rocky, so you might experience fatigued feet and I highly recommend wearing proper hiking boots. You also need to have good knees to walk the rocky trail.
Weight of Backpack
The trail provides refugios and tents, so you don’t need to bring your own sleep system with you. They also provide delicious food, so you also don’t need to bring much snacks. The only heaviest thing might be water, but fortunately, there are water stations at each campsite, and the running water from upper trail is drinkable as well, so you won’t need to bring too much water. For me and my husband, I brought a 20L backpack and my husband brought a 44L backpack. For water, we carried about 1.5L in total at the beginning of each day and refilled along the way. Therefore, the weight of our backpacks was pretty lightweight, and did not require too much of a core strength to handle. One small thing to note is that you are not allowed to leave your garbage in campsites, so you have to carry your garbage from the beginning to the end.
Conclusion
For cardio, it’s not demanding 90% of the time. Only at the tips of W trek you might have to go straight up. I never go to the gym and I never found myself gasping on the trail.
For leg strength, I think just normal legs would be enough. I never go to the gym and I even sprained my knees prior to the trip, but I was still able to do it!
For core strength, I don’t think you need any particular training for that, unless you are planning to bring a ton of stuff on the trail.
So it’s 100% beginner friendly! But of course, overall, the more fit you are, the more you are going to enjoy! 🙂
The Weather
The weather in Patagonia is unpredictable, and you’ll never know what’s going to happen in the next 15 minutes. Statistically speaking though, summer (December, January, February) has a higher chance of sunny days and clear skies, but also has a higher chance of heavy rains and huge winds. For us, we went in mid November. The weather was beautiful for 3/4 days, and the other day was cloudy and snowy. We only experienced huge winds for 1/4 days. We did not experience a single drop of rain for the entire 4 days which apparently is rare in Patagonia.
The weather difference throughout the day in mid November was not that big. It ranged from 0-7 celsius degrees by the time we visited.
What to Wear
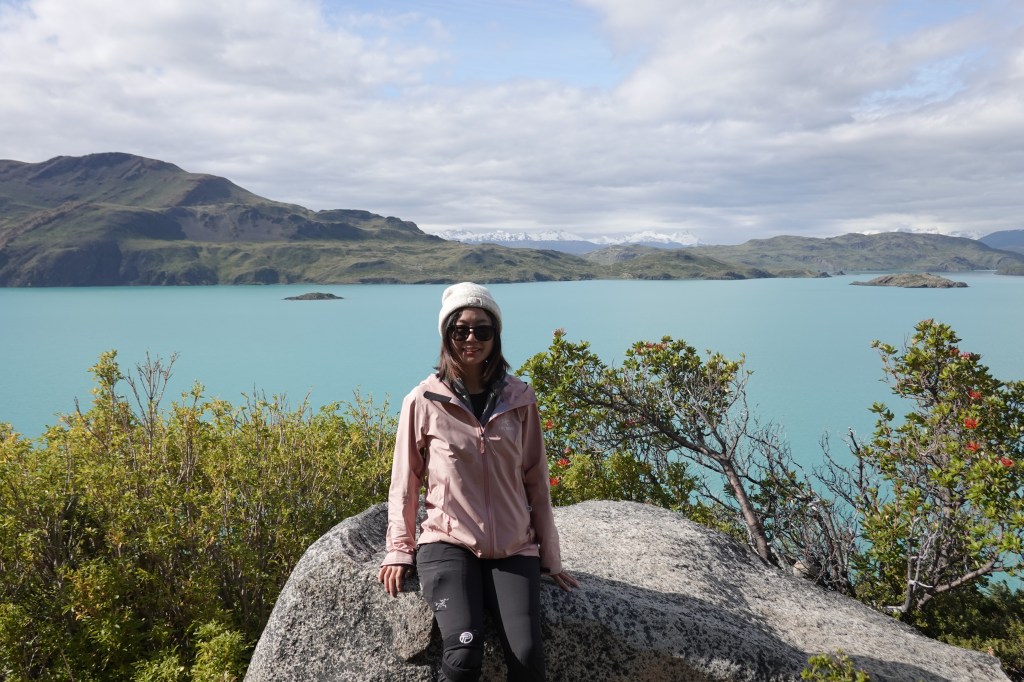
You would want to wear properly to deal with changeable weather. You also don’t want to overpack clothes because clothes are heavy. Here’s what I wore for 0-7°C:
Base layer: Patagonia Capilene T shirt. You can wear pretty much anything that is quick drying. Even though I was hiking in 0-7°C, I always find myself sweating!

Mid layer: Nike Element Half-Zip Top

Mid layer: Arc’teryx Cerium Down Jacket. This is super warm and compressible. I usually put it in my backpack when I don’t use it which doesn’t take too much space and weight. When I’m at the top of the mountains or during the night and mornings, it’s really nice to put on.

Mid layer: Smartwool Classic Merino Base Layer. I never wore it on the trail because it would be too hot. It was nice to wear it for sleep though.

Outer layer: Arc’teryx Beta LT Jacket. This is essential as it protects you from the wind and rain!

Legs base layer: Smartwool Classic Merino Base Layer

Pants: Arc’teryx Gamma LT Pants

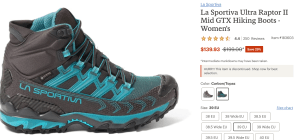
Hiking Boots: La Sportiva Hiking Boots
Hat: North Face beanie

Glasses: I got a pair of photochromic glasses from Ray Ban. With insurance I paid nothing out of the pocket. These ones are convenient because they become sunglasses during the day and changes back to clear during the night.
Socks: merino wool socks x2. The best thing with merino wools is that they don’t stink. Bringing two pairs was enough.
Underwear: merino wool bras and panties. You can get those ones from Patagonia’s “Barely” series.

Others: knee sleeves / knee braces
What to Pack
Check out my video here!
Lodges Review
Hotel Las Torres
Recommendation: ⭐️⭐️⭐️⭐️⭐️
Price: $750 per night + $50 boxed lunch
Pros:
- Luxurious experience
- Amazing food
- Friendly staff
- Great location to start/end the trail
Cons:
- None
Cuernos Cabin
Recommendation: ⭐️
Price: $660 including 3 meals for 2 people
Pros:
- Private cabin
- Food was amazing
- The view is amazing and the cabins look cute
Cons:
- The bathroom and cafetaria are all outside and require some rocky walking on the hills. This means that you need to put on a jacket and shoes whenever you want to use the bathroom or seek food. If you want to get up at night, it’ll be too much work to do.
- The fireplace can go off during the middle of the night.
- You’ll have to walk 2 hours (3km) more to Frances/British Valley the next day compared to if you stay in Frances campsite instead
- It’s just too expensive and not worth it
Refugio Frances
Pros:
- A lot closer to Frances Valley / British Valley. Saves 2h of hiking compared to if you stay at Cuernos
- Amazing food
- Heater!
Cons:
- Have to share room with other people (might be a con to some people)
Refugio Paine Grande
Recommendation: I don’t know how to put it because this is the only place you can stay at for this part of the trail
Price: $360 including 3 meals for 2 people
Pros:
- Has heater
- Beddings were nice and warm
Cons:
- Food sucks
- Have to share room with other people (might be a con to some people)
Itinerary
You can either go from east to west or from west to east. Here are the comparisons:
| East to west | West to east |
|---|---|
| On day 1, you see the most famous Las Torres and finish the hardest part of the trail where you have the highest energies and excitements. Everything after it is only going to be easier | On day 4, you see the famous Las Torres. It’s possible that you’re tired already and have less energy to enjoy the hike. |
| On day 4, it’s possible to miss your boat and not able to go back… | On day 1, you commute and take the boat to trailhead, so it’s impossible to miss the boat |
East to west itinerary:
- Day 1: Hotel Las Torres to Mirador Base Las Torres and back
- Day 2: Hotel Las Torres to Cuernos Cabin
- Day 3: Cuernos Cabin to Frances Valley (pass Frances campsite, Italiano campsite) and then to Refugio Paine Grande
- Day 4: Refugio Paine Grande to Refugio Grey
For itinerary visualizations, check out my vlog:
How to Get There
✈️ You can only either fly to Punta Arenas (Chile) or fly to El Calafate (Argentina), which are the nearest airports to the park.
🚌 Then, from either Punta Arenas or El Calafate, you’ll have to take a bus or drive to Puerto Natales (Chile), which is the closest town to the park and also where most people choose to stay at.
❓Should you take a bus or rent a car? My advice: if you have 4+ people, rent a car; else, take a bus. The main reason is because renting a car is expensive, and you don’t need it for the most time if you’re hiking.
🏞️ Enter the park: if you are entering the park from Puerto Natales, you can purchase a bus ticket from bussur.com. It’ll take you from Puerto Natales to Laguna Amarga (park entrance), and then you need to prepare 4000 pesos to take the shuttle from Laguna Amarga to trail head. You also need to prepare cash for paying the park entrance fee, or you can pay it ahead of time online.
👋🏻 Exit the park: if you are exiting the park from Refugio Grey like I do, you can first take a boat from Refugio Grey to Hotel Grey, and then take a bus from Hotel Grey back to Puerto Natales. It’s kind of stupid but the bus has to take a detour from Hotel Grey to Laguna Amarga, and then from Laguna Amarga to Puerto Natales, resulting in a 4.5 hours ride, compared to if you drive directly from Hotel Grey, it’ll only take 2 hours. The only way to take the shortcut is to reserve a private transportation, which may range from $100 to $200. You’re not able to call a taxi or Uber at Hotel Grey.
Closing
Alright, that’s all I can think of to get prepared for W trek! I hope you found this post useful and enjoy the hike as much as I did! Feel free to leave questions or comments below and I’ll try to answer them! ❤


Leave a comment